SparkWeb является кроссплатформенным приложением. Исходники SparkWeb можно скачать по адресу http://www.igniterealtime.org/downloads/index.jsp. Установка его
требует минимум действия со стороны пользователя. Установку будем производить на уже настроенном Openfire (c уже настроенной LDAP авторизацией) сервере в Linux.
1. Как пишет разрабочик: In the Openfire case you will have to put SparkWeb folder into /opt/openfire/plugins/admin/webapp folder. SparkWeb will be accessible by the http://youropenfireserver:9090/sparkweb/ address then. Скачанный дистрибутив распаковываем в директорию /opt/openfire/plugins/admin/webapp.
2. Теперь скачаем последнюю версию флэш файла SparkWeb.swf по адресу http://www.igniterealtime.org/sparkweb/SparkWeb.swf.
Копируем его в директорию /opt/openfire/plugins/admin/webapp/sparkweb
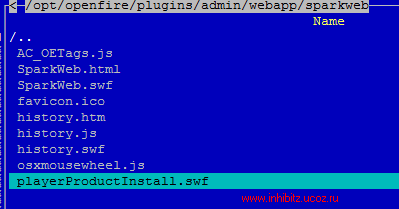
3. Редактируем конфигурационный файл SparkWeb.html. По умолчанию настройки его имеют вид:
<script type="text/javascript">^
function jive_sparkweb_getConfig()^
{^
return {^
server: "igniterealtime.org",^
connectionType: "socket",^
port: "5222",^
autoLogin: "false"^
};^
}^
</script>^
в этом разделе могут находиться следующие параметры:
|
Variable |
Description |
Values |
|
server |
Hostname to use for opening the socket |
String representing the hostname |
|
port |
port on the hostname |
"5222" by default |
|
bindPath |
The path section of the url to use for http binding |
"/http-bind/" by default |
|
connectionType |
type of connection to the server |
"socket", "http" , "https" |
|
autologin |
Skip the login window when true |
"true" , "false" |
|
username |
Username of the user logging in |
String representing the username
|
|
password |
Password of the user logging in |
String representing the password of the user |
|
policyFileURL |
URL that specifies the location of a cross-domain policy file |
String representing the URL. The URI can be http:// or xmlsocket:// (default is: "xmlsocket://yourserver.tld:5229"). |
|
red (3.4.4 and later) |
Tints the window background color by multiplying the amount of red by this number |
Red multiplier |
|
green (3.4.4 and later) |
Tints the window background color by multiplying the amount of green by this number |
Green multiplier |
|
blue (3.4.4 and later) |
Tints the window background color by multiplying the amount of blue by this number |
Blue multiplier |
конфигурируем его по своему вкусу.
Мои же настройки выглядели следующим образом:
<script type="text/javascript">
function jive_sparkweb_getConfig()
{
return {
server: "jabber.mydomain.ru",
connectionType: "socket",
port: "5222",
autoLogin: "false"
 connectionType: "https",
         bindPath: "/http-bind/",
  policyFileURL: "xmlsocket://jabber.mydomain.ru:5229"
};
}
</script>
4. Чтобы наш SparkWeb открывался по алиасу вида http://jabber.mydomain.ru:9090/sparkweb переименуйте SparkWeb.html в index.html.
Теперь, когда установка и настройки осуществлены, перегрузите сервис Openfire:
#> /etc/init.d/openfire restart
Открываем наше страницу со SparkWeb в интернет браузере по адресу http://jabber.mydomain.ru:9090/sparkweb. Но работать нам по порту 9090 неудобно. Скопируйте все содержимое каталога из /opt/openfire/plugins/admin/webapp/sparkweb в /var/www/html/sparkweb и перегрузите Apache2 сервер:
#> /etc/init.d/httpd restart
Следующим шагом, Вы получите пришлашение к авторизации
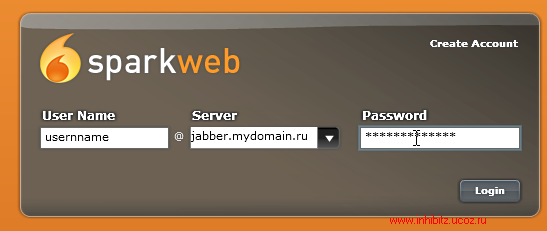
Меню контактов пользователя выглядит следующим образом
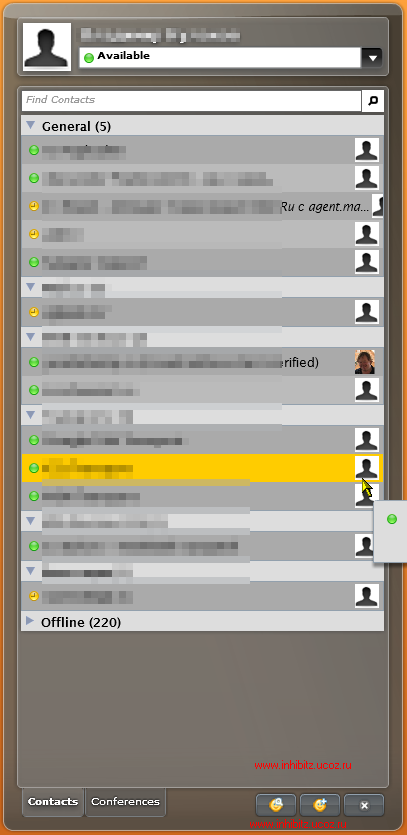
В самой верхней книге контактов имеются несколько видов статуса клиента SparkWeb
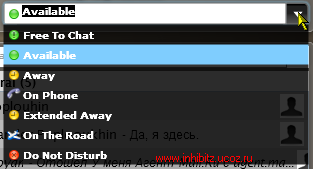
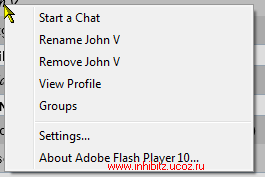
Кликнув правой кнопкой мышки на интересующем нас контакте мы можем видеть его меню
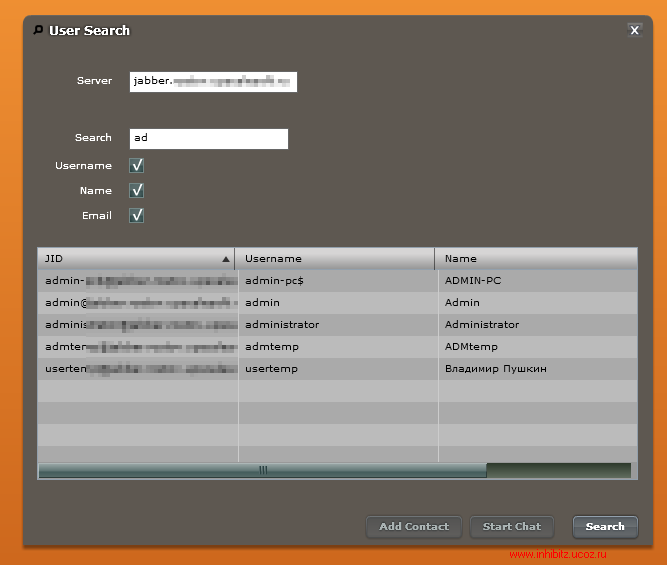
Поиск контактов
На этом всё.
Полезные линки:
http://www.igniterealtime.org/community/community/developers/sparkweb - Англоязычный форум по SparkWeb
|  Главная
  Каталог статей
  Регистрация
  Вход
Вход